This is going to be a fun article to write! I sure had fun creating this yummy meal, and I hope you do too!
Sushi has been one of my favorite lunch treats since I first tried it back in 2017. After three years of absolutely loving it, but never doing anything other than buying it at Wegmans, I decided to try my hand at making it from my own little kitchen. Here is the step by step:
*I will not be putting nutritional information into this recipe. That requires a food scale, proper portioning, and several things this busy mama does not have the time or patience for, sorry*
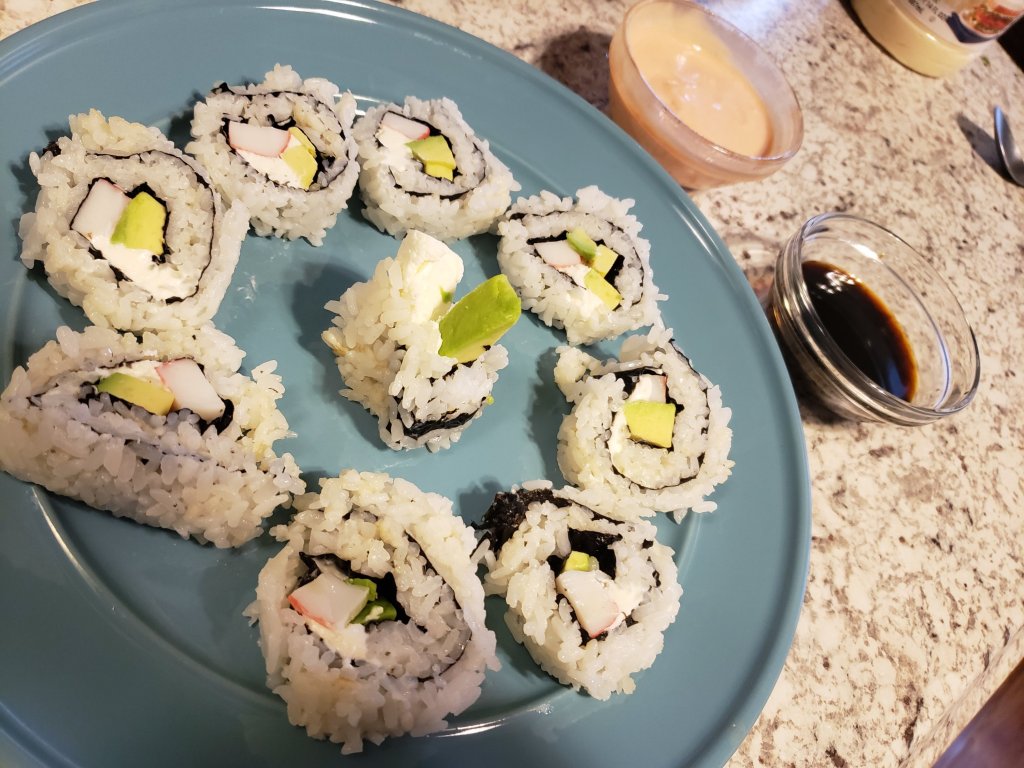
STEP ONE: SHOPPING
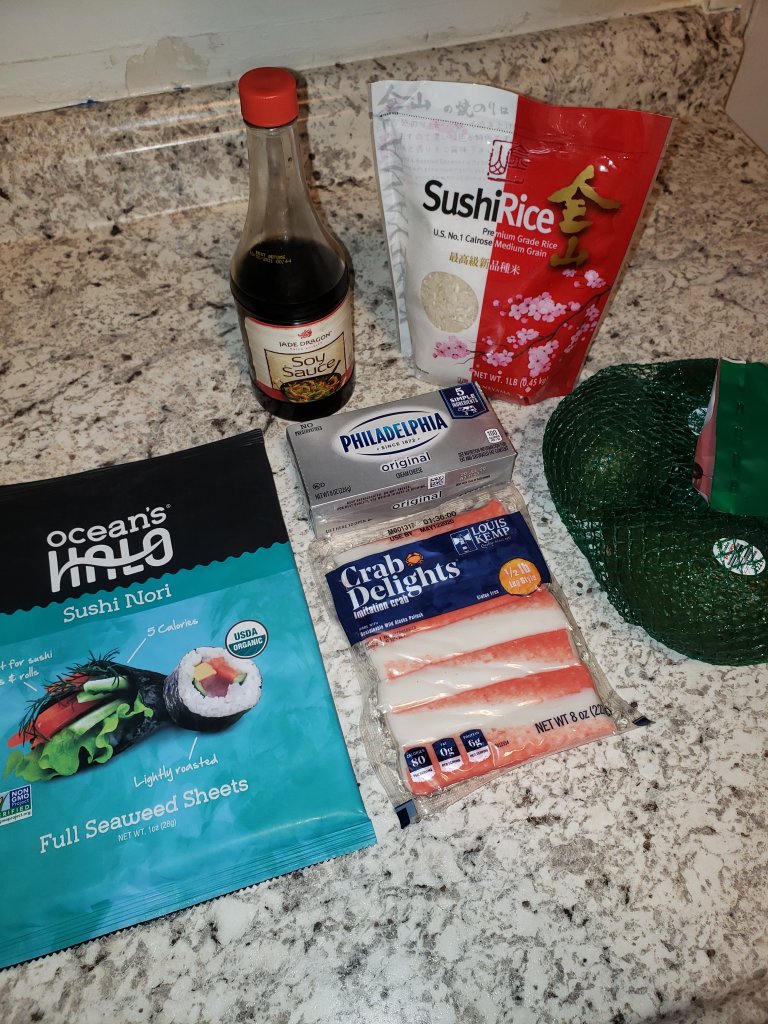
Okay. This is probably one of my favorite parts of creating any recipe. I love strolling through the aisles in search of just what I need to make the recipe perfect! Whether you personally have a love or hate, or a love/hate relationship with shopping, you’re going to need to do some in order to make these rolls.
You’ll need:
- Sushi Nori (the seaweed wrap)
- Sushi Rice (it’s important to get this specific type, because apparently it is NOT the same as regular rice)
- A bamboo mat (optional, I used saran wrap, although the mat makes it much easier!)
- Avocado
- Cream cheese (block)
- Imitation crab (or real if you’re feeling it!)
- Saran wrap
Get Cookin’ Good Lookin’!
Now that you’ve got all of the ingredients (I know, I know, Nori is pretty much impossible to find…) you’re going to want to get cooking.
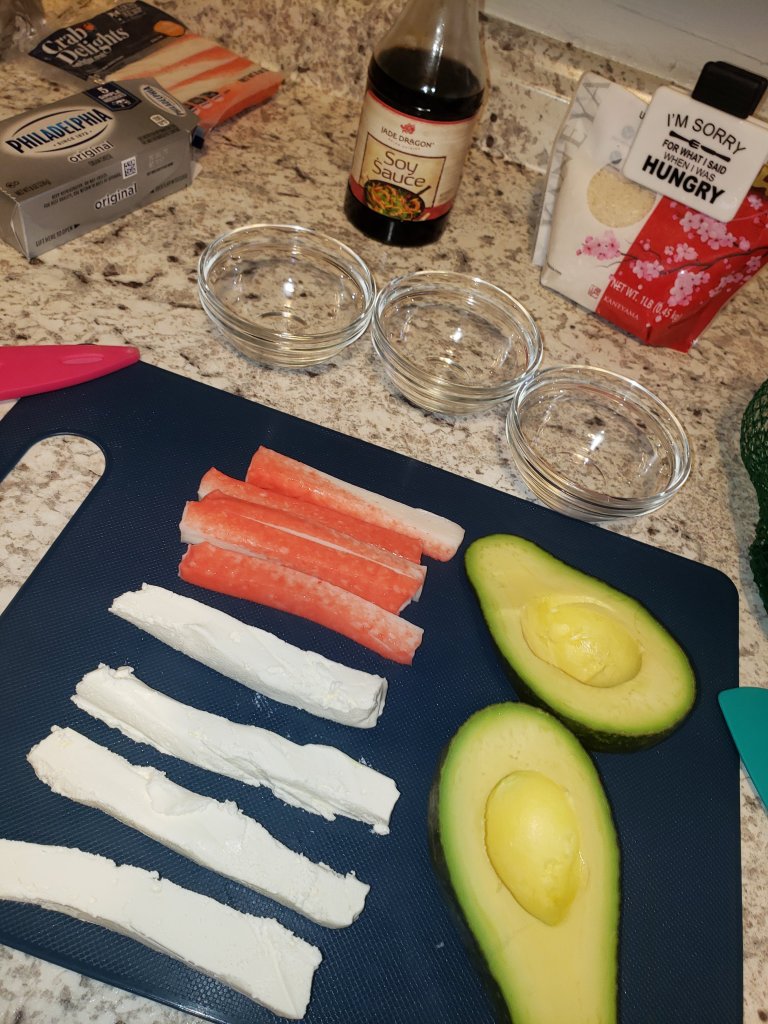
Lay out everything you need beforehand to make everything that much easier. Cutting board, prep bowls, all of it. Lay it out now.
Then move on to the rice. Follow the instructions on the back of the sushi rice, and get cookin’!
Chop Chop!
While the rice is cooking, go ahead and slice up your crab, avocado and cream cheese. Try to slice each ingredient into one inch sections on each side, like a long block.
Basically, you want the ingredients to be thick enough to make a decent size roll, yet not too thick as to make the roll too big.
Finding Nori
See my little finding Nemo sequel play there? Haha! I thought you might like that one.
Anyways, once the rice is fully cooked and you’ve got your ingredients in order, it’s time to start with the seaweed wrap.
Place the nori down on a sheet of saran wrap on the cutting board, and pack the rice on to the sheet. Be careful not to rip the sheet as you spread the rice on it, and although you want the rice to cover the sheet, try not to make it too thick. Having the rice too thick on the nori will make your roll ratio way different than you want it to be (unless you prefer more rice).
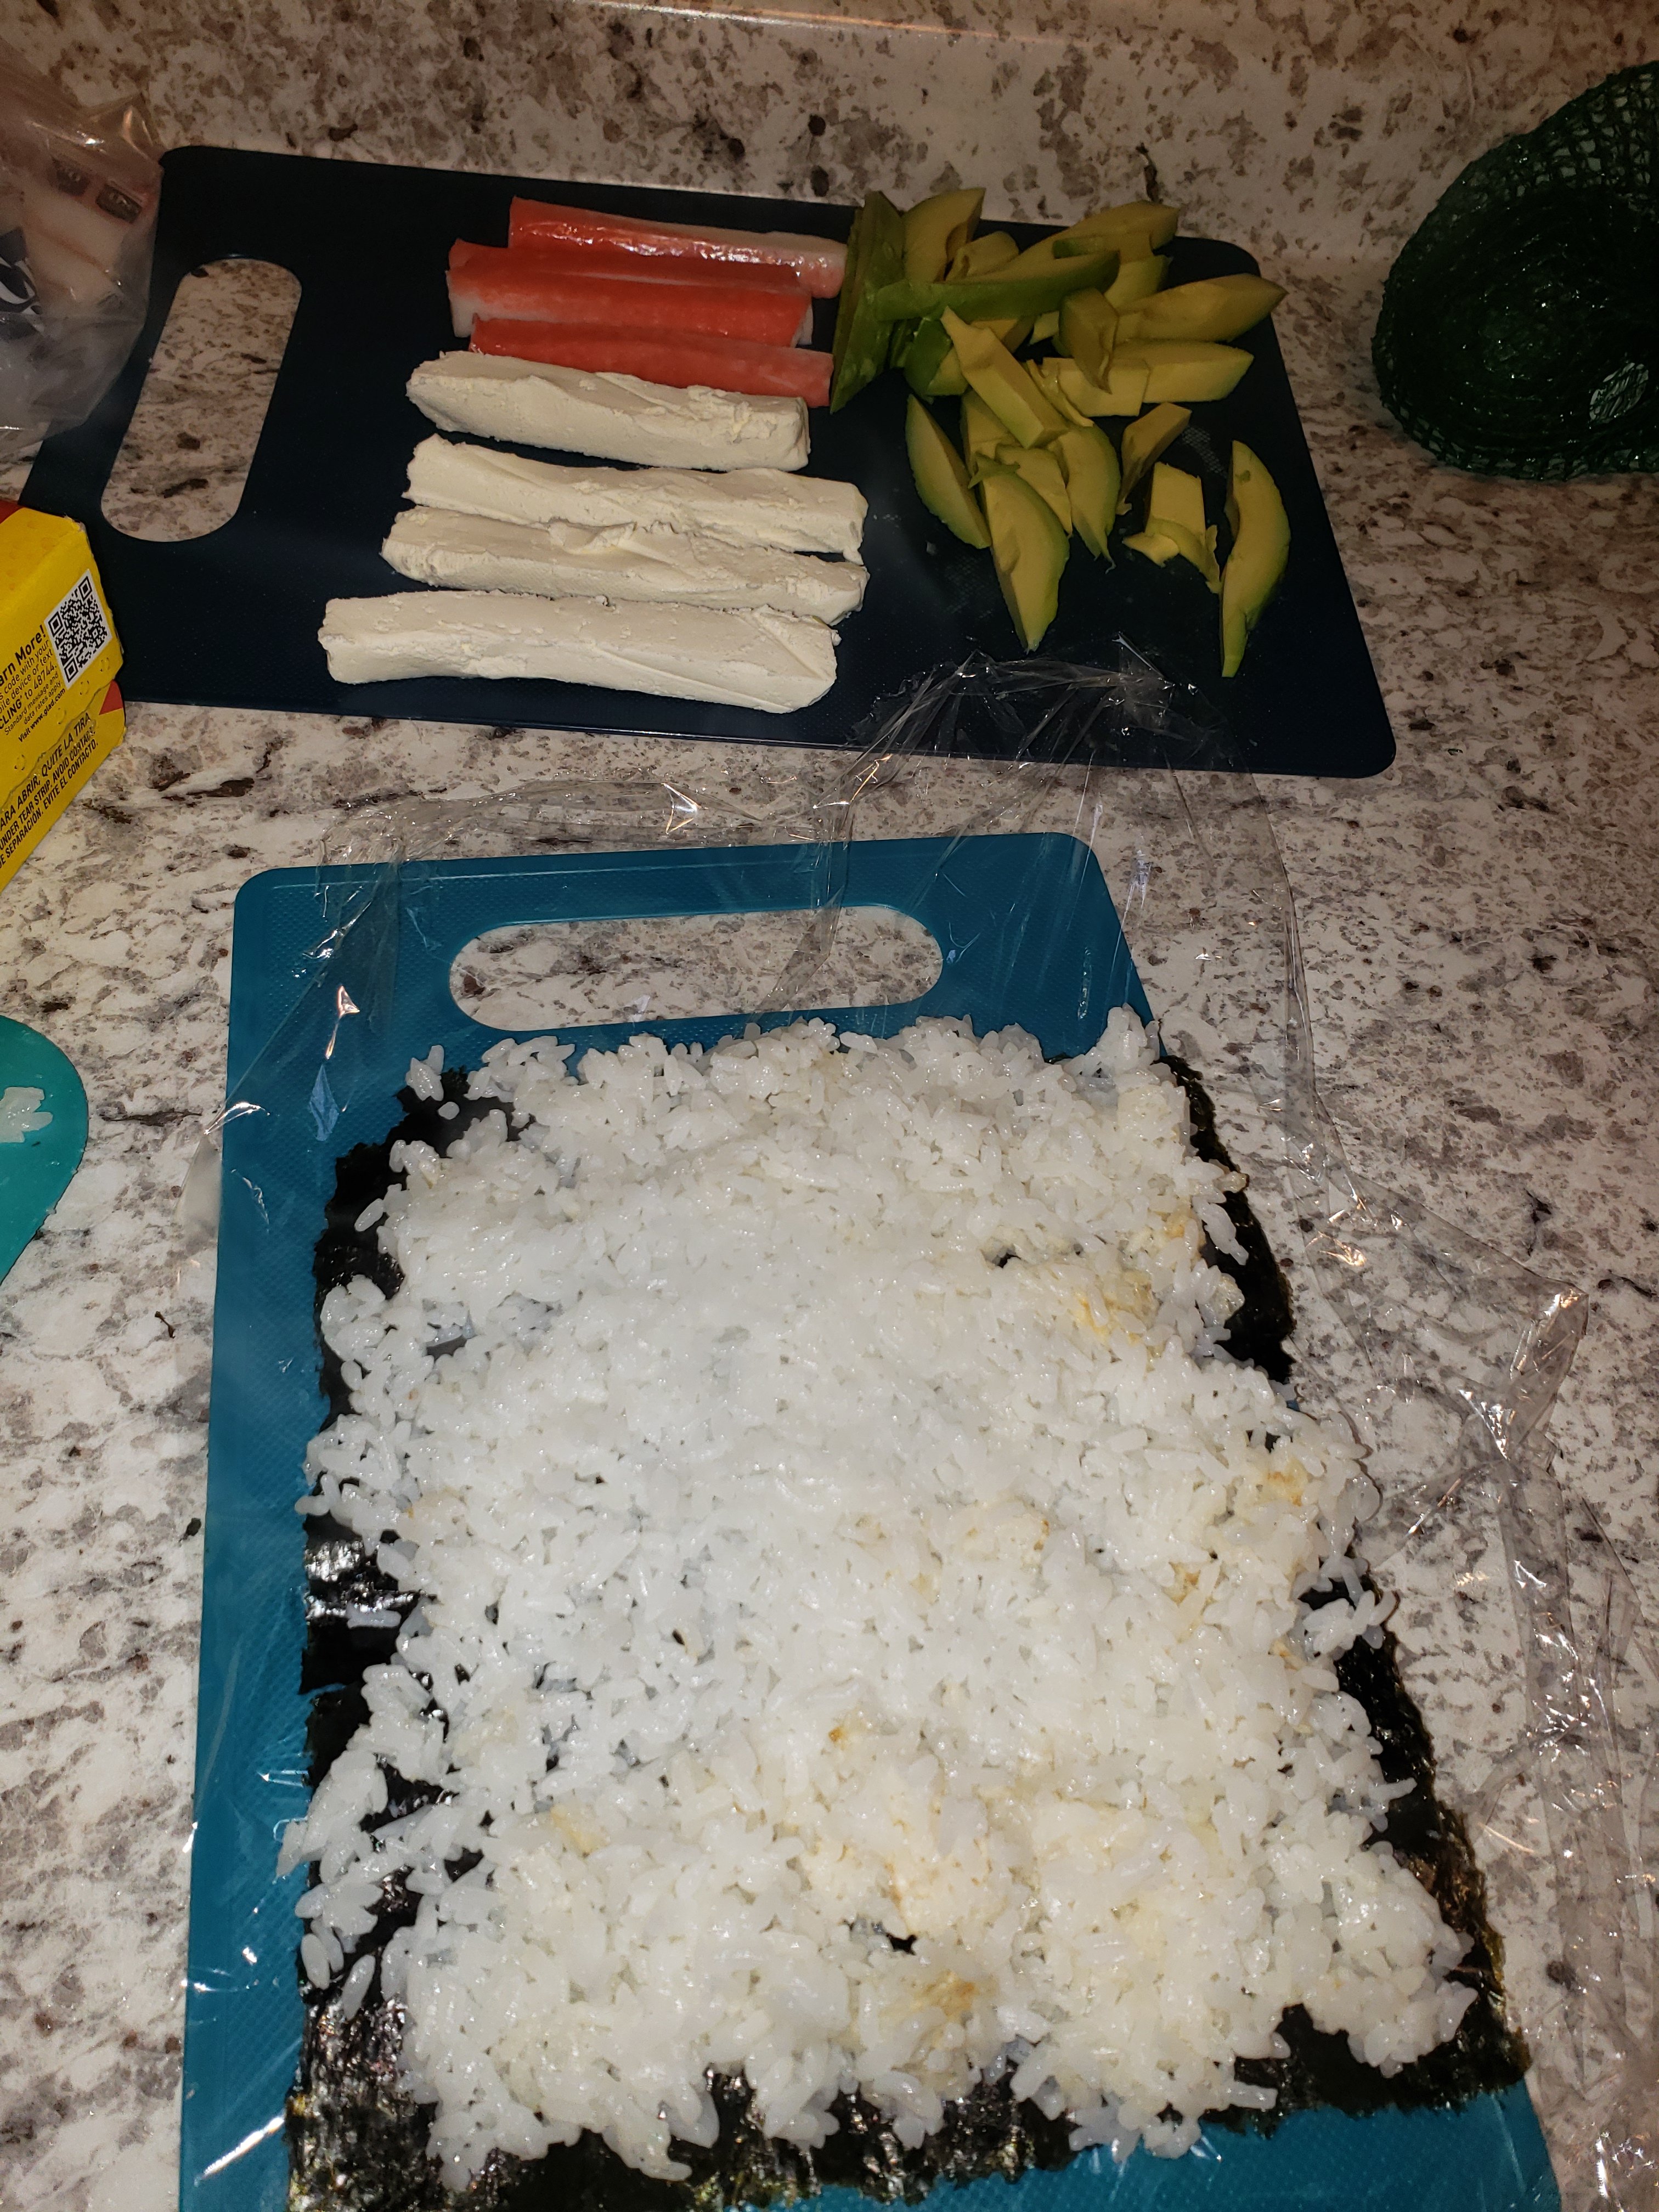
As you can see, I’m not a professional rice cooker so my rice turned out a little more browned than I wanted. Oh well. It was still delicious in the end!
Flip The Nori
Now that the rice is packed on, place another layer of saran wrap on top of the rice layer you just made.
Flip the entire thing over with the help of the saran wrap, and then remove the saran wrap that was stuck on the bare side of the Nori (the side now facing up after you flipped it). This is where you will put your main ingredients.
Fill The Roll
Place your ingredients, (crab, cream cheese, avocado) in a line on the bare side of the nori. You’ll want to do this in a line straight across, leaving about a 1 inch gap from the beginning so you have some wiggle room for error when rolling.
Just Roll With It
Now that the ingredients are all in place, a bamboo mat would come in super handy. If you’re preparing to make this recipe in the future, go hop over to amazon and grab yourself a bamboo sushi rolling mat here.
If you’re more like me and you didn’t have a rolling mat, yet were already 2 seconds away from rolling up your new creation, don’t fear. The saran wrap is here to help.
Basically, you will use the saran wrap as an aid to wrap up the roll. Roll it over the ingredients, pull back a little of the saran wrap, and repeat until your roll is finished! It should look something like the picture below.
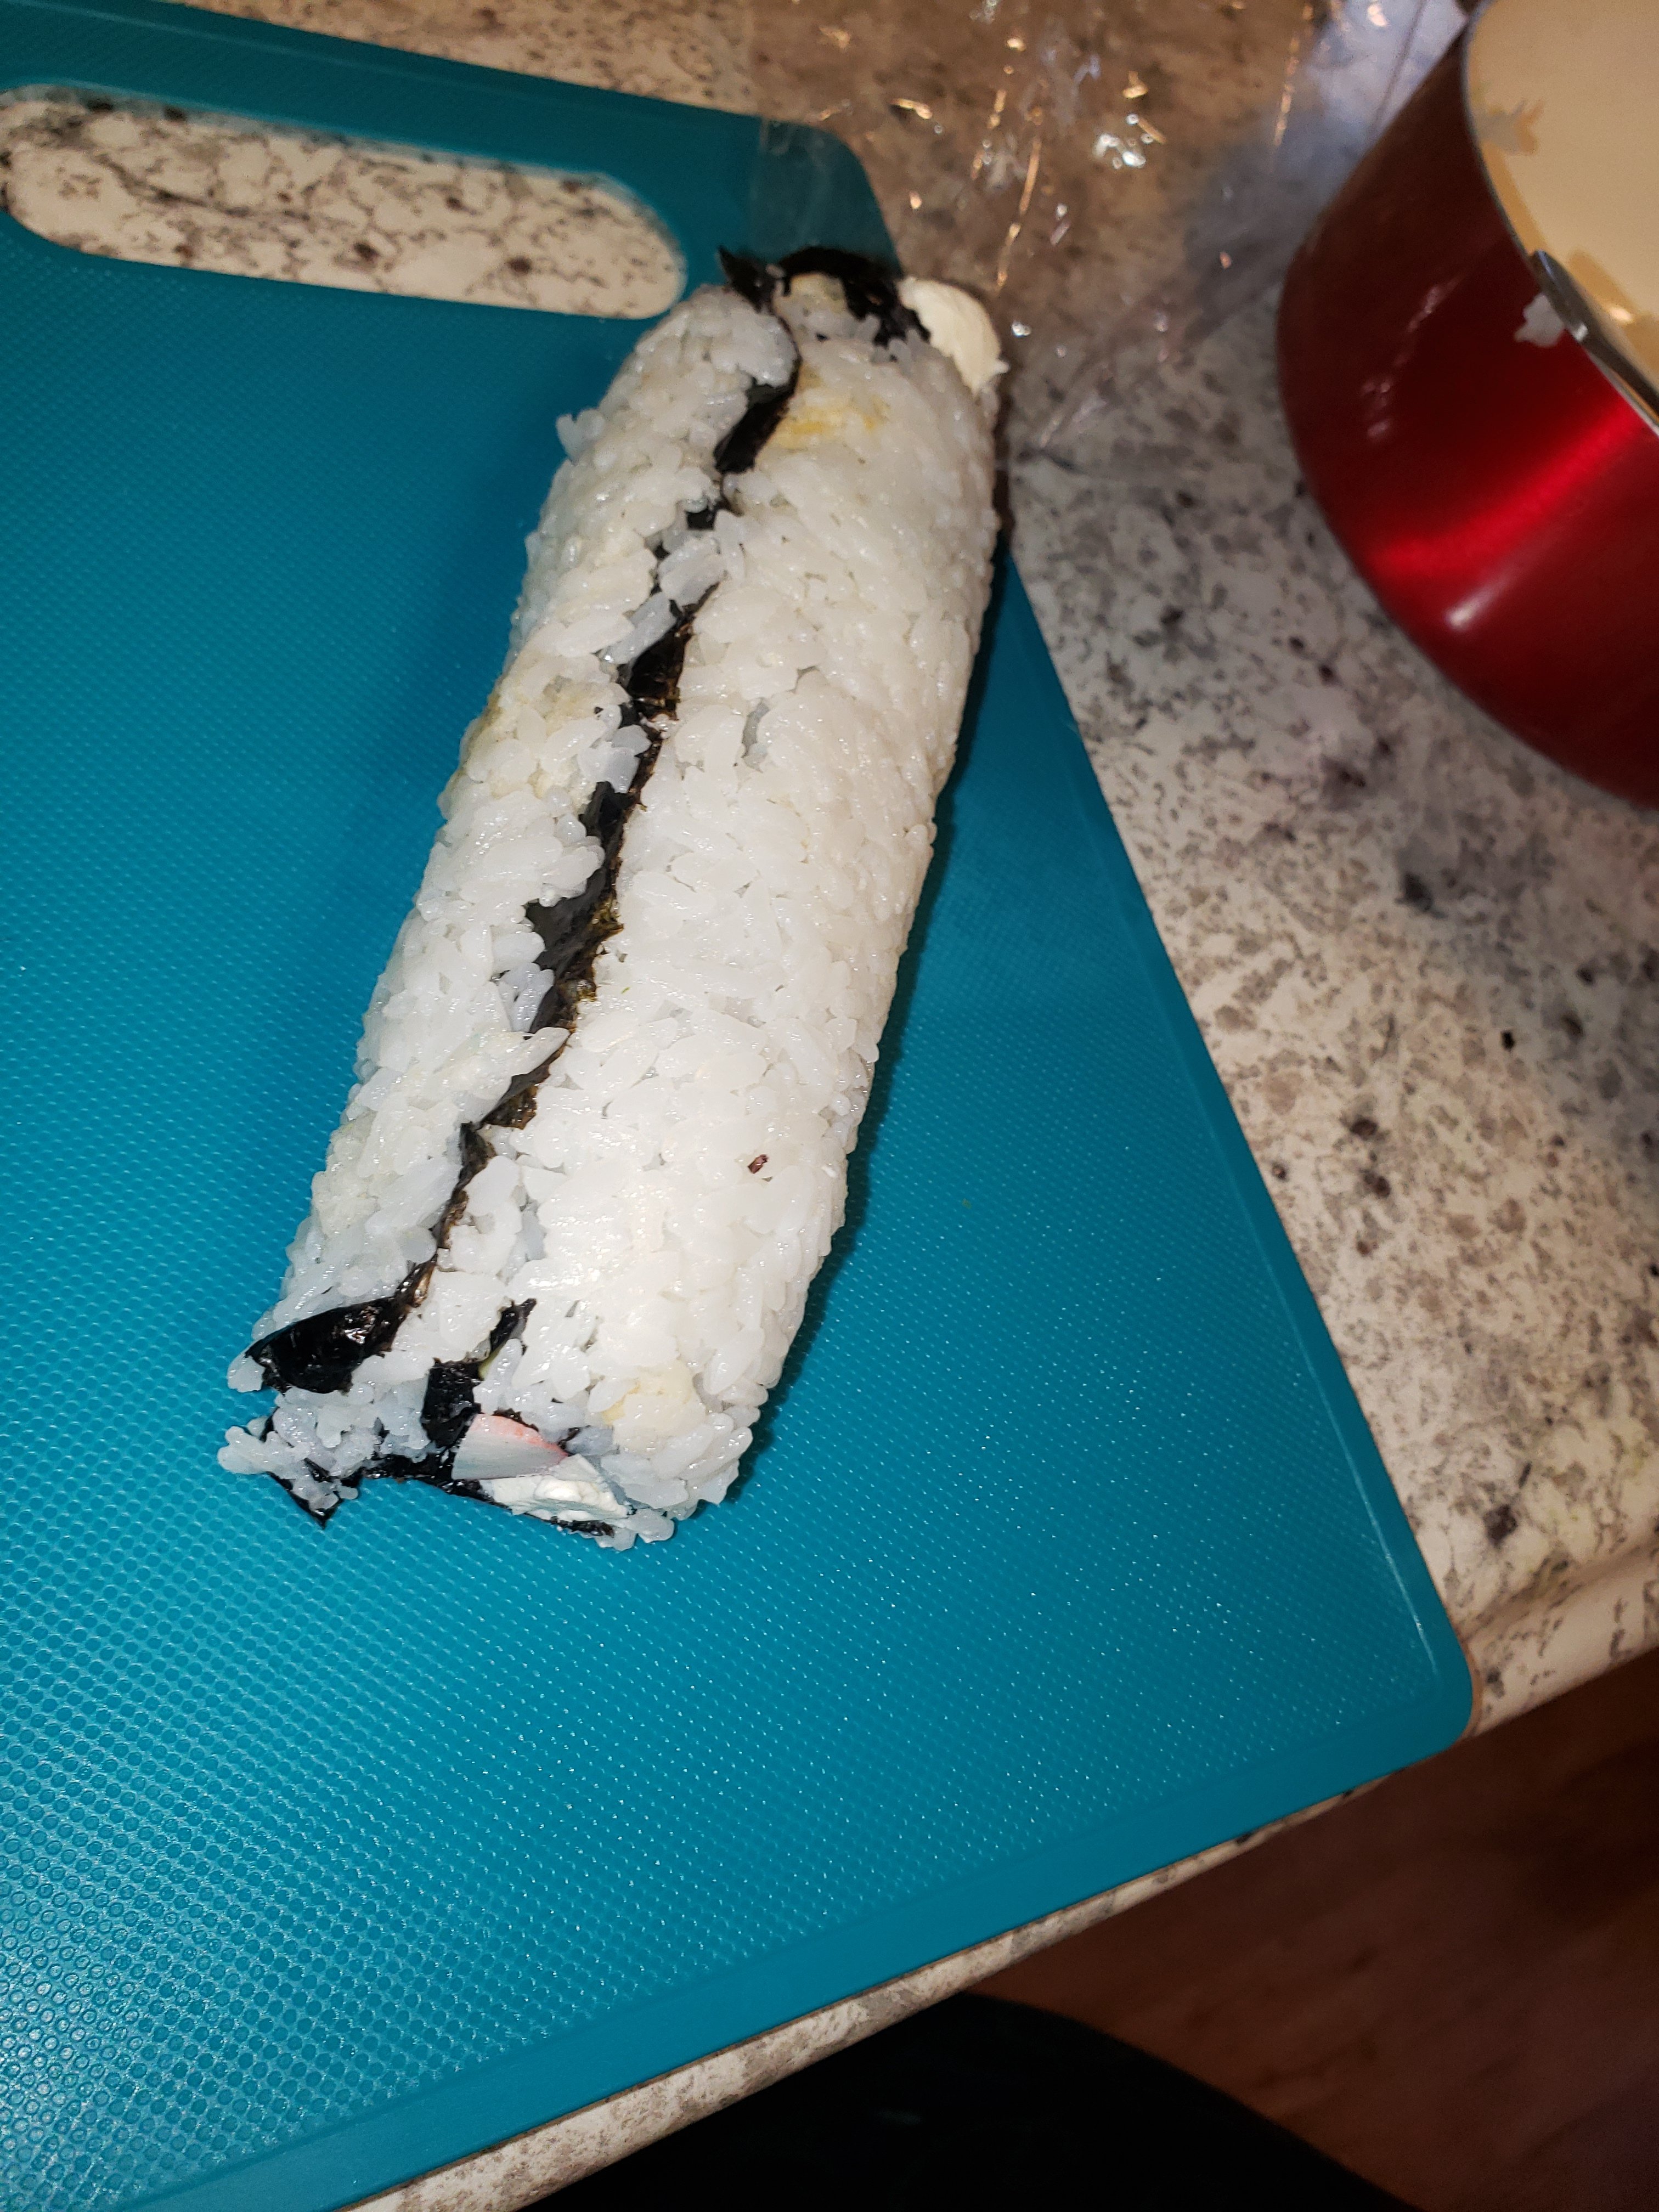
Slice And Serve!
That’s pretty much it! The only thing left to do from here is to slice it into 8 pieces and serve.
If you’d like to get really fancy with it, you could also add some sesame seeds on the outside of the rolls for visual and textural appeal.
For me, I left that out and just went for some store bought soy sauce and some homemade spicy mayo. (One part mayo, one part Frank’s red hot sauce) and enjoyed!
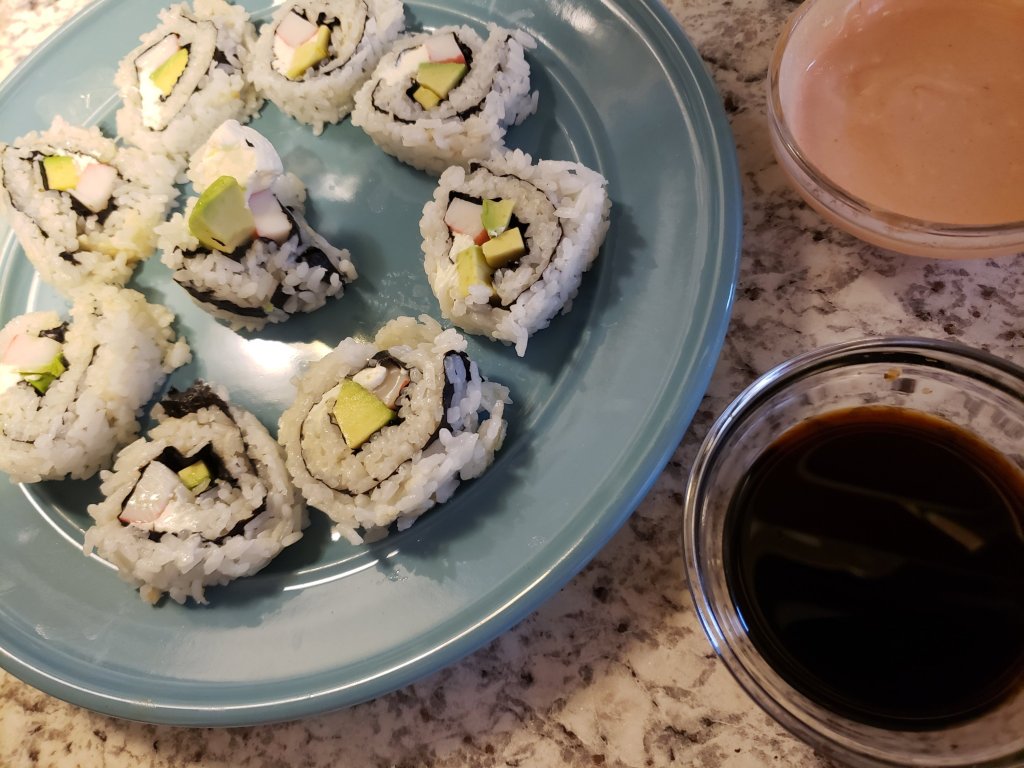
I hope that this recipe turns out just as awesome as you hoped, and that you have so much fun doing it too! I know I had fun creating this little tasty lunch for myself, and I enjoyed writing this article for you guys too!
Let me know in the comments section down below if you give this a try. Let me know how it went, how you liked the process, if it turned out tasty, and if you’d make it again! Also feel free to add in any fun little modifications that you tried, I’d love to try them out myself too.
I’m always looking for more ways to enjoy the little things in life. If you are too, consider subscribing to get updates whenever I release a new blog post below.
Xoxo,
Lia

 Boss Mom Blog